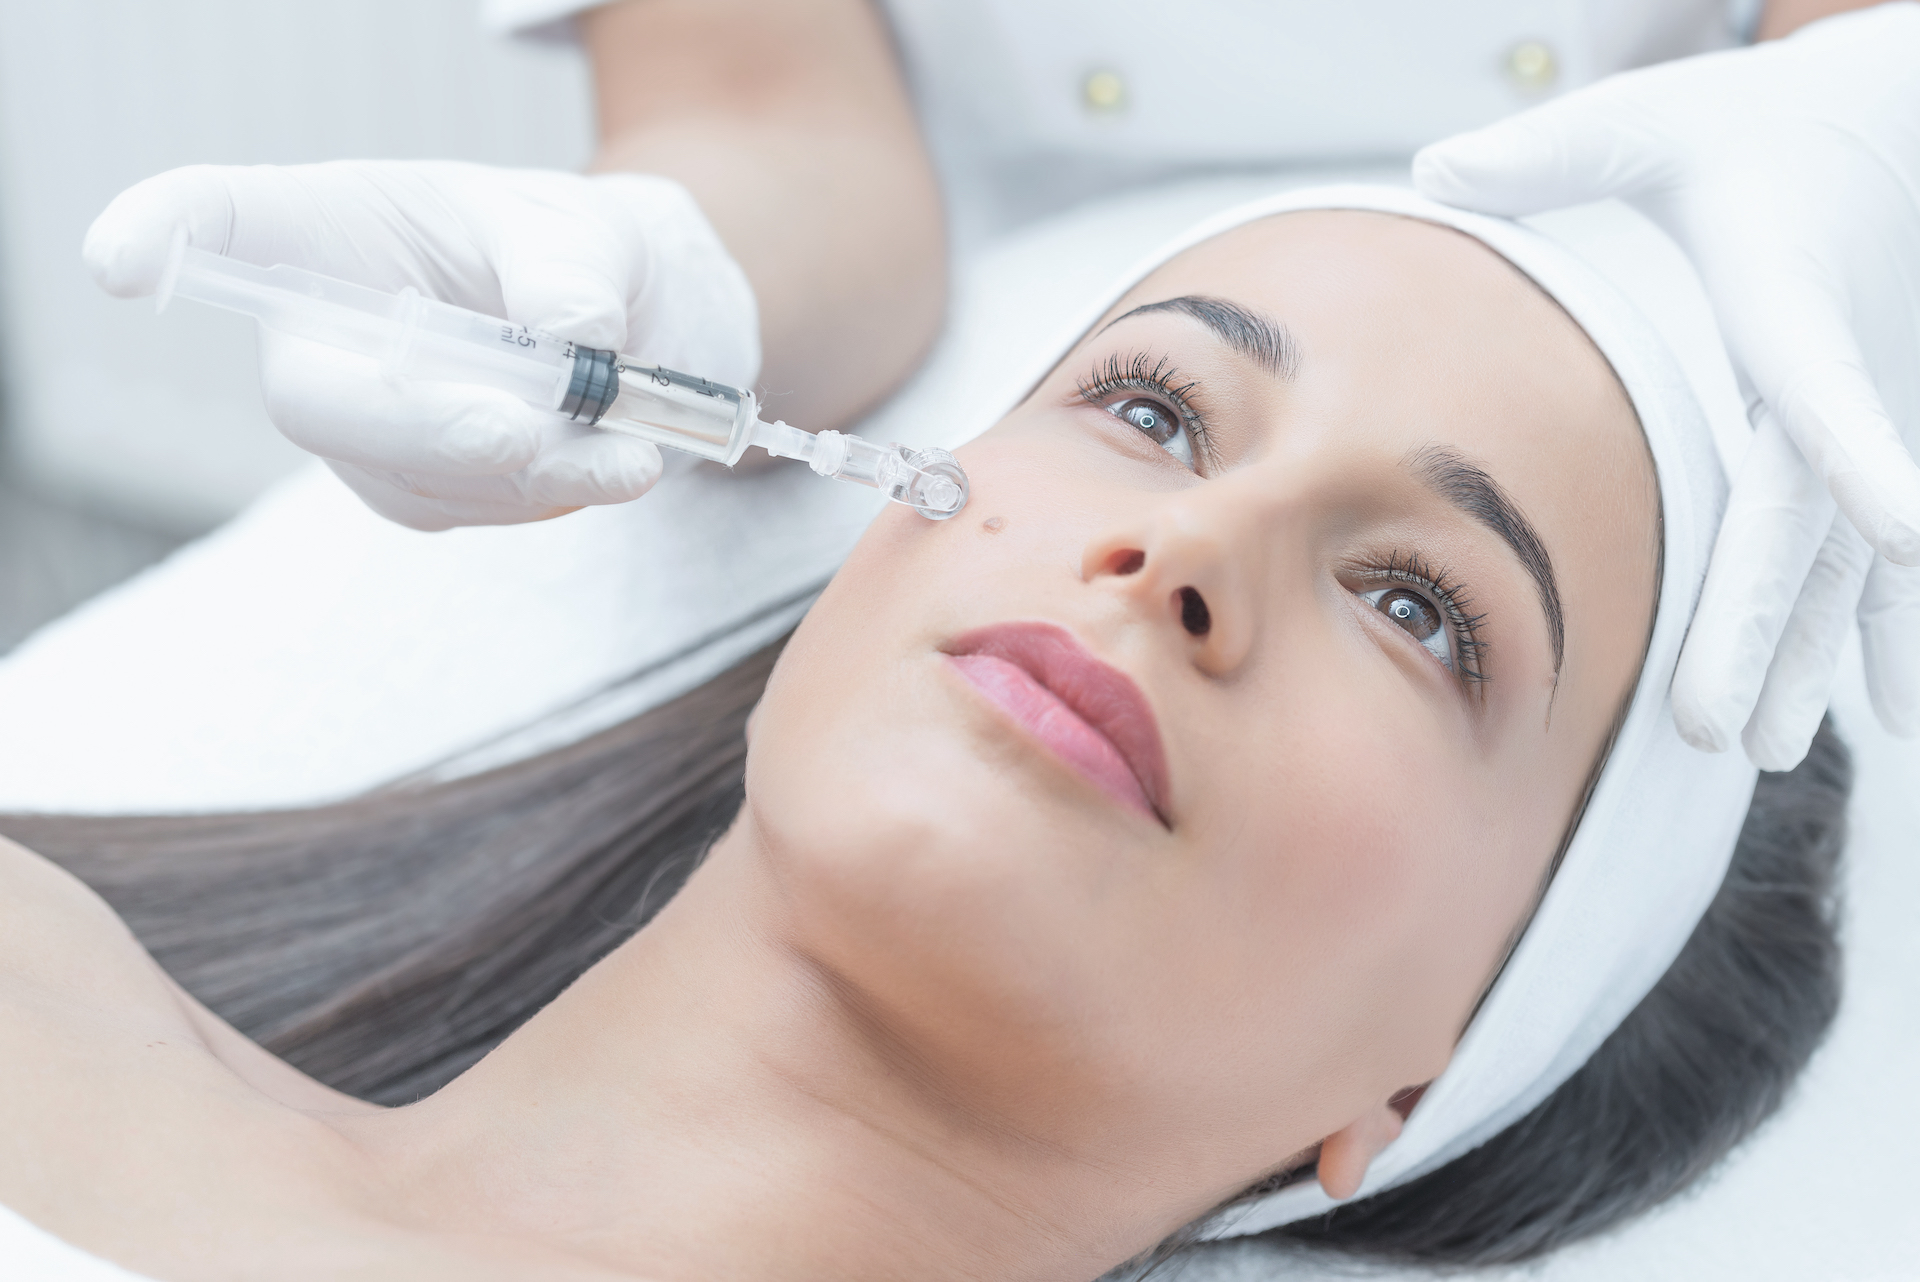
As practitioners in this field, many students find themselves facing a significant challenge – capturing the essence of their work through compelling photos. Despite having quality equipment at their disposal, the art of photography remains elusive for most.
To bridge this gap, I want to provide you with specific guidance on taking exceptional photos. Try out these tips and observe the transformation. When photographing a client's face, opt for a seated position against a wall to minimize movement. Remember this position for subsequent photos 2 or 3 weeks post-treatment.
For body shots, choose a standing position to showcase the true condition and skin laxity influenced by gravity. Ensure the lighting falls directly on the area of focus, utilizing tools like a ring light or Glamcor light. The absence of shadows on the client's face or body is crucial.
Zoom in on the specific region, maintaining consistent phone settings for both before and after photos. Avoid altering contrast or brightness. Use applications like Picsart to create a collage of the before-and-after shots, adding your logo for a personalized touch.
When your client returns, recreate the same positions, lighting, and camera settings. Reviewing the initial photos serves as a helpful reminder, especially if you're managing multiple clients.
Over time, this process will become second nature, enabling you to capture clear, impressive results that clients appreciate and enhancing your professional image. Best of luck, and feel free to reach out with any questions.
For a comprehensive look at all the techniques taught in my courses, visit this [link].

Always keep the settings on your phone the same in the photos before and in the photos after (do not change the contrast or brightness)
Use Picsart (or some other) application to make a collage of the photos before and after. This step is very simple. In this collage step, you can add your own logo, if you have one.
When your client comes after 2 or 3 weeks (depending on the treatment you have done) do the same positions for the client, light, and camera again. You will be reminded by looking at the photos you took before the treatment. You can make notes for yourself if you have a lot of clients and you can’t remember everything.
In time, this will become a routine and it will be common for you to take great photos with very clear results, which clients adore and which contributes to increasing your professionalism.
To easily master presenting skincare treatments and present yourself as a professional, learn more about the guide before/after here.


